
We have already covered the installation process for Sitecore Experience Commerce 10.1 in two articles. In the next few articles, we will introduce the standard Commerce mock-up site, Storefront, and its configuration.
Host Name Change
For Storefront sites, if you have specified a different site name during setup, the hostname specified in the Storefront content will be different from the default value, resulting in a non-enabled site.
Open the item /sitecore/content/Sitecore/Storefront/Settings/Site Grouping/Storefront in the following path and you should see the following screen

Change the host name listed in this item to the host name you want to use in the installed environment.
After making changes, click Publish▼ on the Publish tab of the Content Editor and select Publish Item.

Please select Smart Publish and the language to publish in Japanese and English. Once publishing is complete, the site will appear as shown below.

Add Japanese language resources
By default, there are no Japanese-language resources added to the Storefront site. Therefore, we will follow the steps below to build up a tree of Japanese-language resources.
Adding a Home
If you select a home item and switch to Japanese, it will indicate that there is no Japanese version as shown below.

Please add a Japanese resource and enter the following
Column | Value |
|---|---|
Title | Storefront |
Navigation link caption | Home |
Now you have a home item.
Header Item Settings
The definition of Header used by the website is the following item.
- /sitecore/content/Sitecore/Storefront/Presentation/Partial Designs/Default Commerce Header
Add the Japanese resources for this item as well. After adding the Japanese resources, select Partial Designs/Multi-Rows Base Header Structure.

We will also add Japanese resources for the logo items used in the header. The logo images are as follows
- /sitecore/content/Sitecore/Storefront/Data/Images/Large Logo
Specify the path to the logo image as /Project/Sitecore/Storefront/Logo Images/Logo Desktop as in English, set the alternate text, and specify the link destination as the home page you have just created.
Adjustment of footer link list
The partial design for the footer area that the home page uses is based on the following link list
- /sitecore/content/Sitecore/Storefront/Data/Link Lists/Footer
Prepare this linked list of all resources in Japanese.
Adjust other footer elements
Corprights and We are Social! items are maintained as text data below.
- * /sitecore/content/Sitecore/Storefront/Data/Texts/Footer
The resources in the social list are managed in the following list, which means images and links.
- /sitecore/content/Sitecore/Storefront/Data/Images
Please set up the Japanese data for the items needed in the above two resources.
Adjustment of text items
Some of the text used on the page is defined below. Each of these terms will need to be translated.
- /sitecore/content/Sitecore/Storefront/Data/Texts/Promoted Products
This time, we would like to convert all the data under Texts into Japanese. To make the work easier offline, download the English resources by following the steps below.
- Open the Control Panel
- Globalization - Exporting Language Files
- Select English only for language

- Select the target item from the tree

- Specify a file name

- Download the XML file

- Change "en" to "ja-JP" this time to avoid misnaming the file.
- Replace <en> with <ja-JP> and </en> with </ja-JP>
- <en-JP>Translate English to enter here</en-JP

- Globalization - importing language files
- Upload the created file and specify import

- Specify master as the database to import

The above procedure completes the import.
Carousel Adjustment
The carousel items used in the home are defined below.
- /sitecore/content/Sitecore/Storefront/Data/Carousels/Home Carousel
As with the text, you can export the complete set, change it to a Japanese resource, and import it.
Cookie Warning Translation
The following items control the text of cookie warnings.
- /sitecore/content/Sitecore/Storefront/Settings/Privacy Warning
By adding a Japanese resource, default values will be available.
Check it out in the Experience Editor
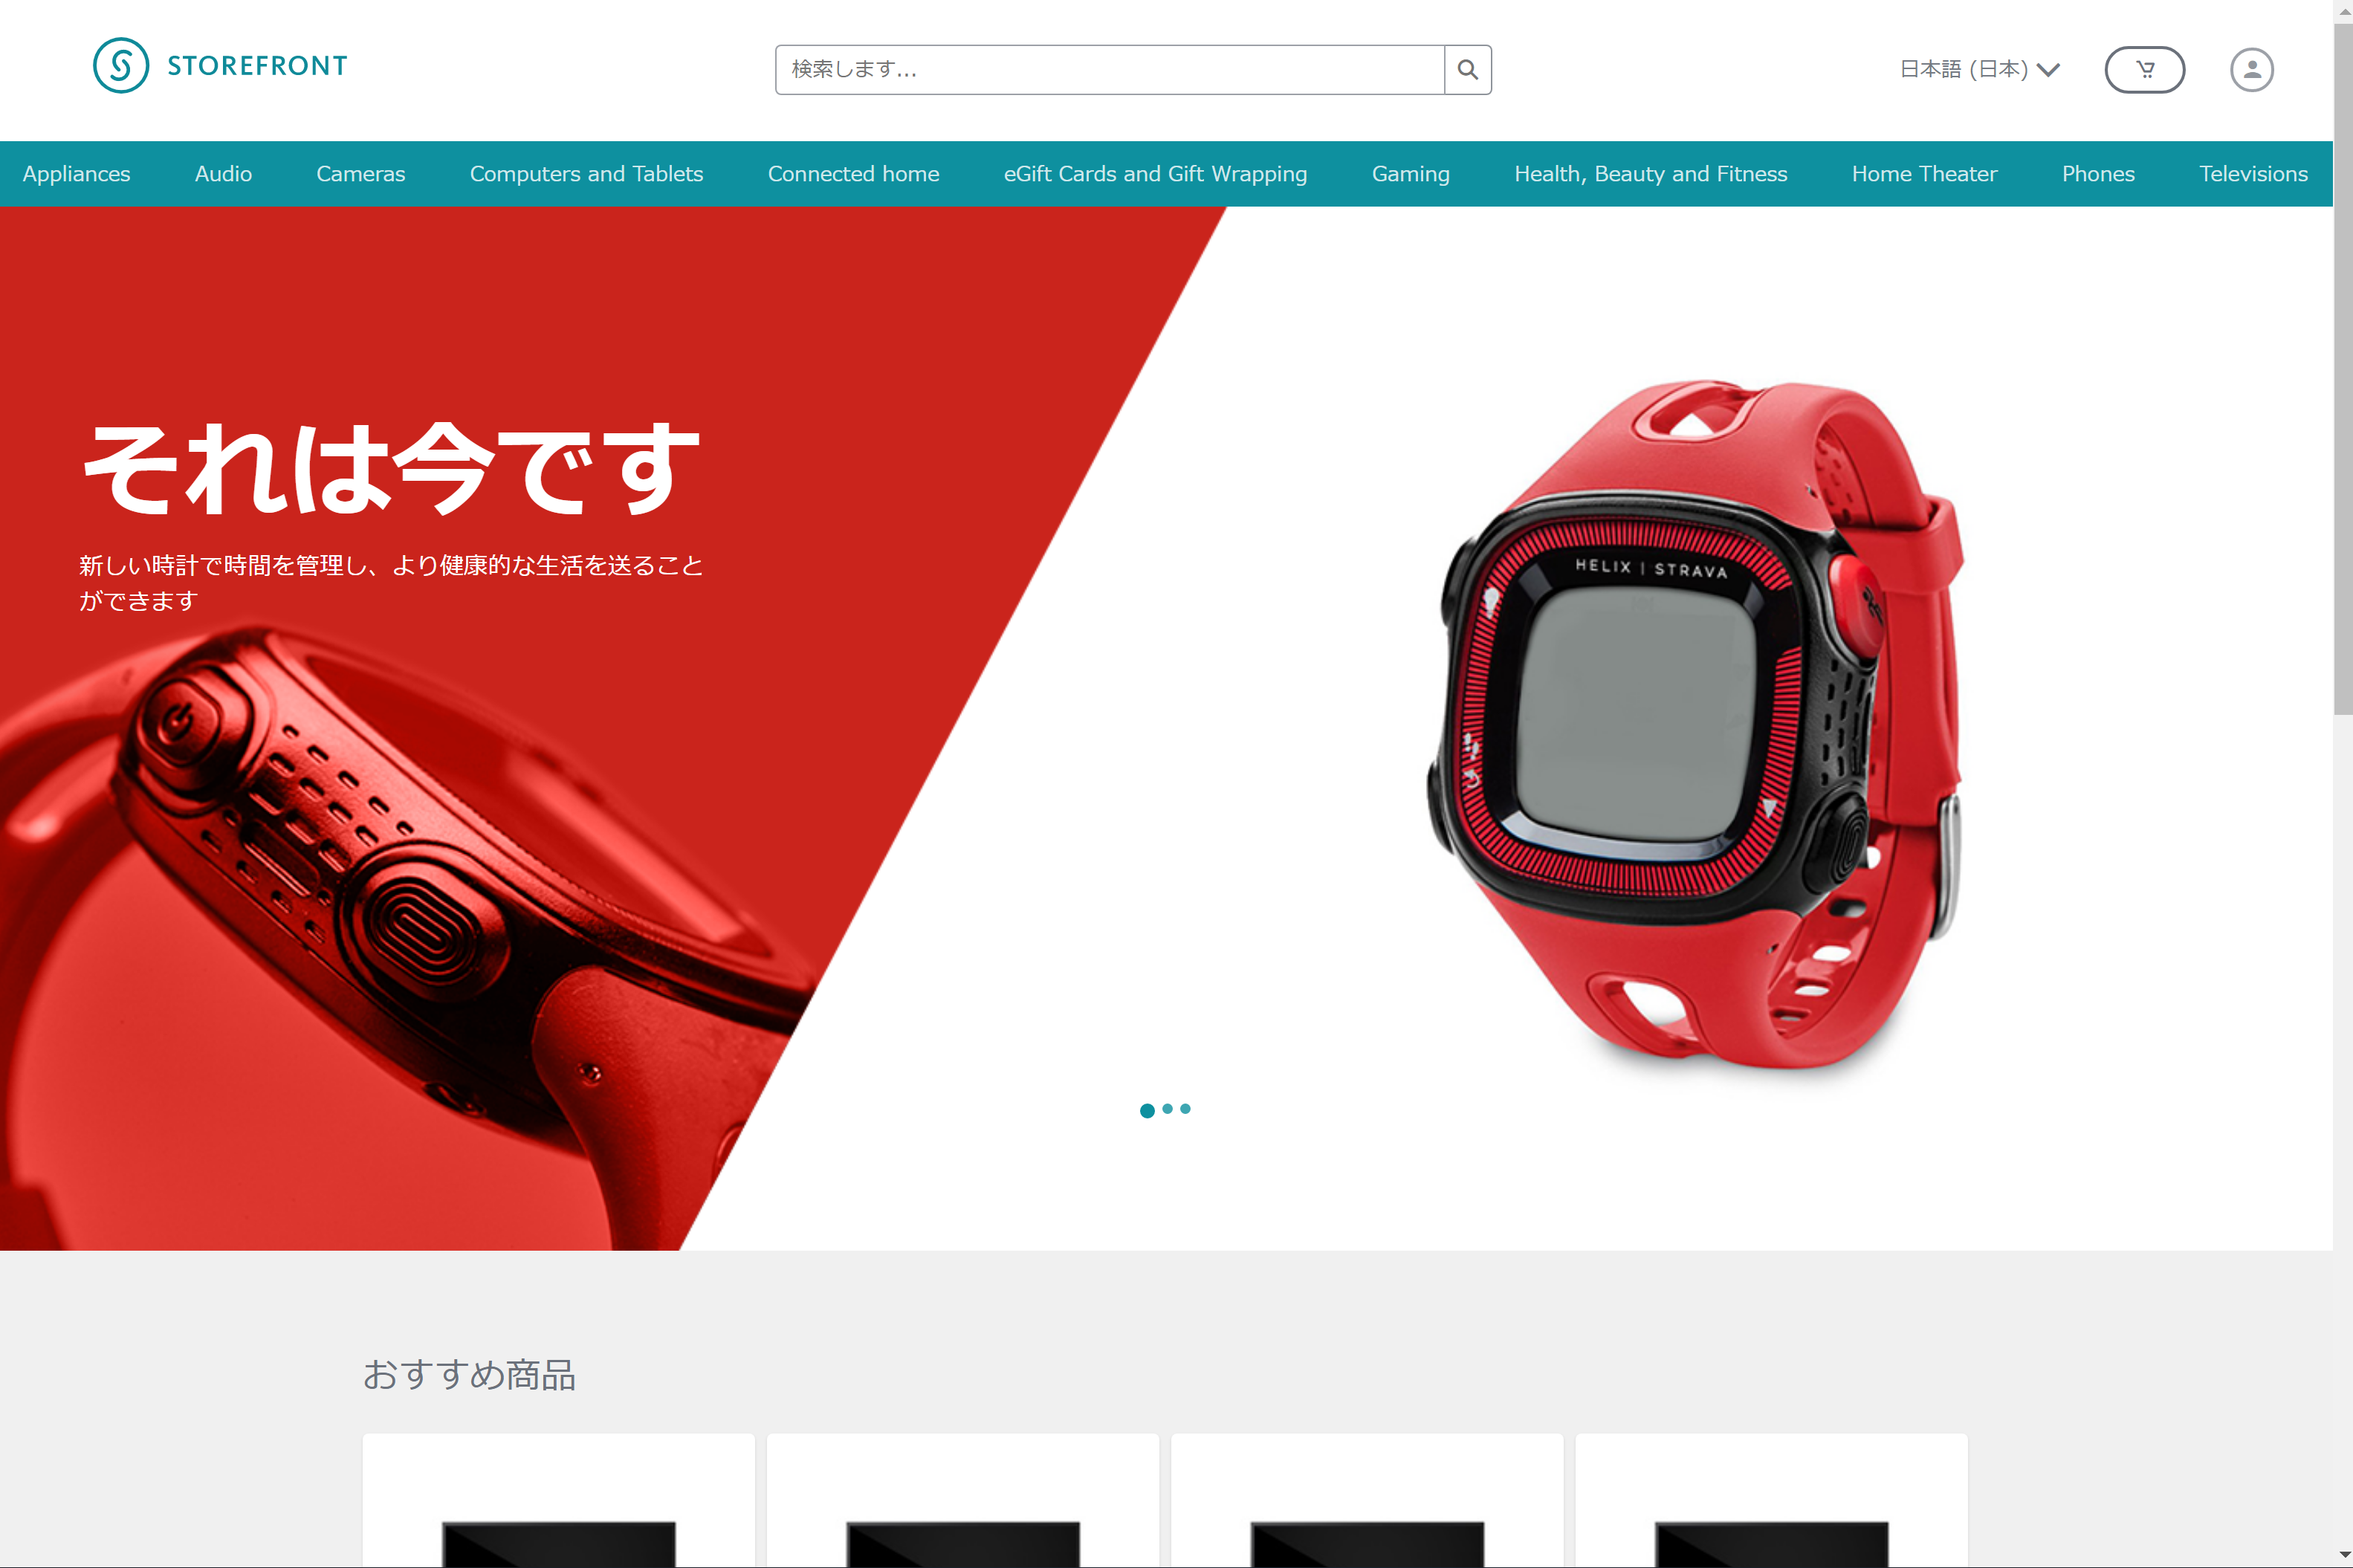
Once you have completed all of the settings regarding the above resources, select the Home item and launch the Experience Editor. The top page is now ready as shown below.

Selecting a home item and performing a Smart Publish with a sub-item will take the form of a home page being published.
Summary
First of all, we introduced the URL change of the Storefront site and the translation of the resources needed to display the top page of the site. Although we have explained in detail, once you have created the resources, you do not need to do the work every time. For this reason, the sample data presented in the procedure will be made available for download at a later date. By going through this procedure this time, you can understand what kind of resources are used where. In the next issue, we will proceed to adjust pages other than the home page.