
In the previous article, we built a virtual machine with VMware Fusion as an environment for installing Sitecore. This time, we will install Sitecore Experience Platform 10.1 and finally make it accessible from macOS.
macOS + VMWare Fusion to create a Sitecore environment - Part 2
Experience Manager (XM)Published: 2021-04-15
Sitecore Experience Platform 10.1 Installation
The following files have been prepared for this installation.
- Sitecore 10.1.0 rev. 005207 (Setup XP0 Developer Workstation rev. 1.2.2-r1).zip
- Sitecore.PowerShell.Extensions-6.2.zip
- Sitecore Experience Accelerator 10.1.0.3751.zip
- Sitecore Headless Services Server for Sitecore 10.1.0 XP 16.0.0 rev. 210223.zip
- Sitecore 10.1.0 rev. 005207 (ja-JP).zip
- license file
File extractor
First, extract the file Sitecore 10.1.0 rev. 005207 (Setup XP0 Developer Workstation rev. 1.2.2-r1).zip to the folder c:\project\sif

Copy license.xml into the extracted folder (or even before the last installation, before you forget).
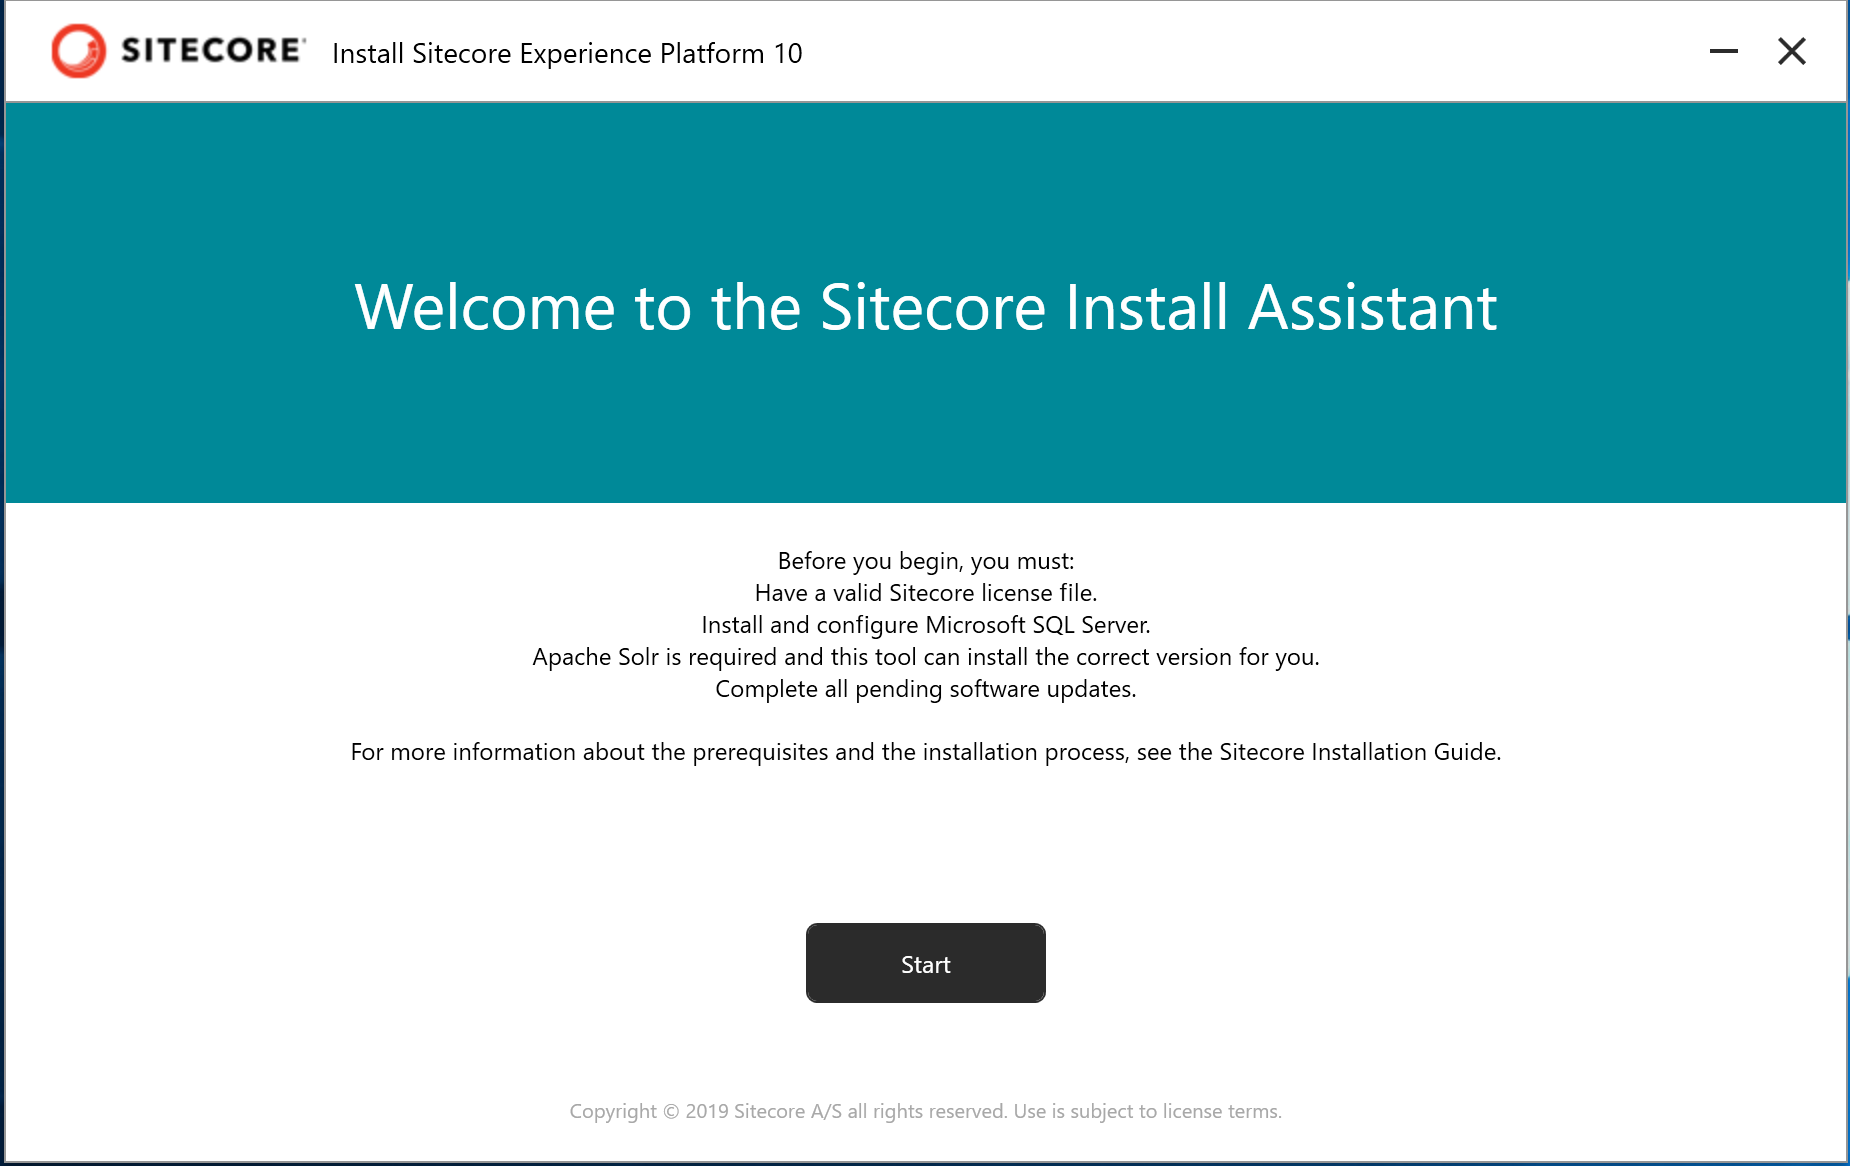
Run the Installation Assistant
Run the setup.exe in the folder; the Sitecore Install Assistant window will open.
After clicking the Start button, the screen switches to Install Prerequisites. This screen allows you to install items required by Sitecore Install Framework and Windows Server. Click the Install button.

In a short while, the installation of Windows components and functions required by Sitecore will proceed.

Once the installation is complete, you will need to restart the system.

Solr Installation
Before installing Sitecore, the search engine Solr must be installed. Although the installation assistant can be used to install Solr, it is also possible to use a script to install Solr using the Sitecore Install Framework command.
To install, open PowerShell with administrator privileges and navigate to c:\projects\sif Then run the Solr installation with the following command
PowerShell
Install-SitecoreConfiguration Solr-SingleDeveloper.json

The above command downloads, installs, and services Solr modules, and is very useful when preparing a development environment using a virtual machine, as in this case.
Installing Sitecore
Once the component installation, SQL Server installation and Solr installation are complete, the next step is to install Sitecore. The script for installation is XP0-SingleDeveloper.ps1, which is located in the folder c:³³.psif, and it is simply a matter of changing the parameters listed in the file. Please modify the following parameters.
Parameters | Role | Description |
|---|---|---|
$SitecoreAdminPassword | Admin password | If left blank, randomly created and logged |
$SCInstallRoot | Install path | Example: c:¥projects¥sif |
$XConnectSiteName | Sitename xConnect | Example: xconnect.dev.local |
$SitecoreSiteName | Site name | Example: sample.dev.local |
$IdentityServerSiteName | Identity Server name | Example: login.dev.local |
$SolrUrl | Solr URL | No need to change if script is running |
$SolrRoot | Solr Path | No need to change if script is running |
$SolrService | Solr Service name | No need to change if script is running |
$SqlAdminPassword | SQL Server Password | sa password |
After setting the parameters, run the script.
PowerShell
.¥XP0-SingleDeveloper.ps1
If the installation completed without errors, you can access the Sitecore Experience Platform. Please add the /sitecore URL to the site name you have configured and confirm that you can log in with the admin password.


Allow macOS to access Sitecore on virtual machines
Check the IP address assigned to the virtual machine. The environment at hand looks like this.
PowerShell
PS C:\projects\sif> ipconfig

Windows IP Configuration

Ethernet adapter Ethernet0:

   Connection-specific DNS Suffix  . :
   IPv6 Address. . . . . . . . . . . : 240d:1a:82b:3800:55e3:2646:20f9:3bde
   Link-local IPv6 Address . . . . . : fe80::55e3:2646:20f9:3bde%4
   IPv4 Address. . . . . . . . . . . : 192.168.0.129
   Subnet Mask . . . . . . . . . . . : 255.255.255.0
   Default Gateway . . . . . . . . . : fe80::e67e:66ff:fe35:74db%4
                                       192.168.0.1
PS C:\projects\sif>
When you access the IP address with a browser, you will see a screen like the one below.

We have verified that we can access IIS in the virtual machine. There are multiple instances running in the virtual machine, and to recognize each one, we rewrite the hosts file so that $SitecoreSiteName and $IdentityServerSiteName can be referenced by name. The hosts file is located in /private/etc/hosts and can only be edited by an administrator. This is a bit of a detour, but it will allow you to edit the hosts file in VS Code.
Add Visual Studio Code command path
Make Visual Studio Code available as an editing tool for the host file. If the form is invoked by typing code from the command line, skip this step and move on to the next step.
First, launch Visual Studio Code and open the command palette by pressing Command + Shift + P.

Type Install Command and you will see an entry to add the command line path.

When selected, a path is added.

Type code as a command to start Visual Studio Code, and you are all set.
Rewrite hosts file
To rewrite the hosts file, open a terminal and execute the following command
PowerShell
code /private/etc/hostsYou will be asked for the password for administrative privileges, enter it, and you will be able to view the host file in Visual Studio Code.

When saving the edited file, the following dialog appears in the lower right corner due to insufficient permissions.

Clicking Re-Enable with sudo privileges will bring up a dialog asking for a password. Enter here the password with which you have administrative privileges on the machine.

Once saved, the configuration is complete. Please access to the site with the hostname you have configured, and you will see the screen after Sitecore is installed.

Module Installation
We will install various modules. In this article, we will install Sitecore Experience Accelerator and Sitecore Headless Services.
- Sitecore.PowerShell.Extensions-6.2.zip
- Sitecore Experience Accelerator 10.1.0.3751.zip
- Sitecore Headless Services Server for Sitecore 10.1.0 XP 16.0.0 rev. 210223.zip
This time, copy the files to the folder c:¥inetpub¥wwwroot¥yourhostname¥App_Data¥packages (yourhostname will be the instance of Sitecore that you have configured), since you can access them directly on the virtual machine.

Then login to Sitecore and select Control Panel - Install a package. Select Choose Package in the dialog and you will be taken to the following screen.

From here, first select Sitecore PowerShell Extension to install the package. To install the package, proceed in the following order
- Sitecore.PowerShell.Extensions-6.2.zip
- Sitecore Experience Accelerator 10.1.0.3751.zip
- Sitecore Headless Services Server for Sitecore 10.1.0 XP 16.0.0 rev. 210223.zip
As for Sitecore Headless Services, there are many modules in common with Sitecore Experience Accelerator, so there is no problem in overwriting duplicated files and proceeding with the installation.
Add Japanese language resource
After the module installation is complete, apply the Japanese resources.
Adding Japanese resources on the administration screen
First, select Desktop from the administration screen; in the lower right corner of Desktop, there is an item to switch the database.

Then click on the Site Core logo in the lower left corner to open the Control Panel.

Under Localization, click Add a new Language. Select "Japanese Japan" as the language, and leave the defaults as they are to complete the language addition.

The method of applying Japanese resources has changed since Sitecore 10.1. Unzip the Japanese resource file Sitecore 10.1.0 rev. 005207 (ja-JP).zip, and you will see the items and localization folders. Copy these two folders directly to App_Data in the directory where Sitecore is installed.

After copying is complete, restart the instance and the Japanese resources will be applied.

Addition of Japanese content
Next, add Japanese resources so that Japanese content can be managed. Log in again as Admin and open the Control Panel. As in the previous control panel, click Add a new Language under Localization and add Japanese - Japan.
Japanese can now be added as a target for administration and content management.
Changing user language settings
Since this is a development environment only, the administrator's user profile will be changed to switch the administration screen and content to standard Japanese.
Open User Manager under Access Management at the top of the administration screen.

Double-click on the listed Admin. and a dialog box will appear. Open the "Language Settings" section of the dialog box as shown below.

Sitecore Client - The Client Language item is the language setting for the administration screen, and Content - Default Content Language is the language for the standard content. Change both settings to Japanese(Japan).

Once logged out and logged in, the administration screen became Japanese as shown below.

Sitecore Experience Accelerator resource import
Finally, import the Japanese resources of the Sitecore Experience Accelerator module that you have already installed.
The import procedure is as follows
- Open the Control Panel
- Open Globalization - Import Language Files
- Select /temp/SXAtranslations/ja-JP.xml as the target resource

- Continue through the dialog to perform the import
Once the import is complete, this environmental preparation is complete.
Summary
In this step, we have prepared an environment on a virtual machine that can use Sitecore Headless Services. In the next article, we will return to the environment of the application created with Next.js and show you how to integrate it with Sitecore.